Table of Contents
Navigate to the "Websites" section and click on "Active Websites."
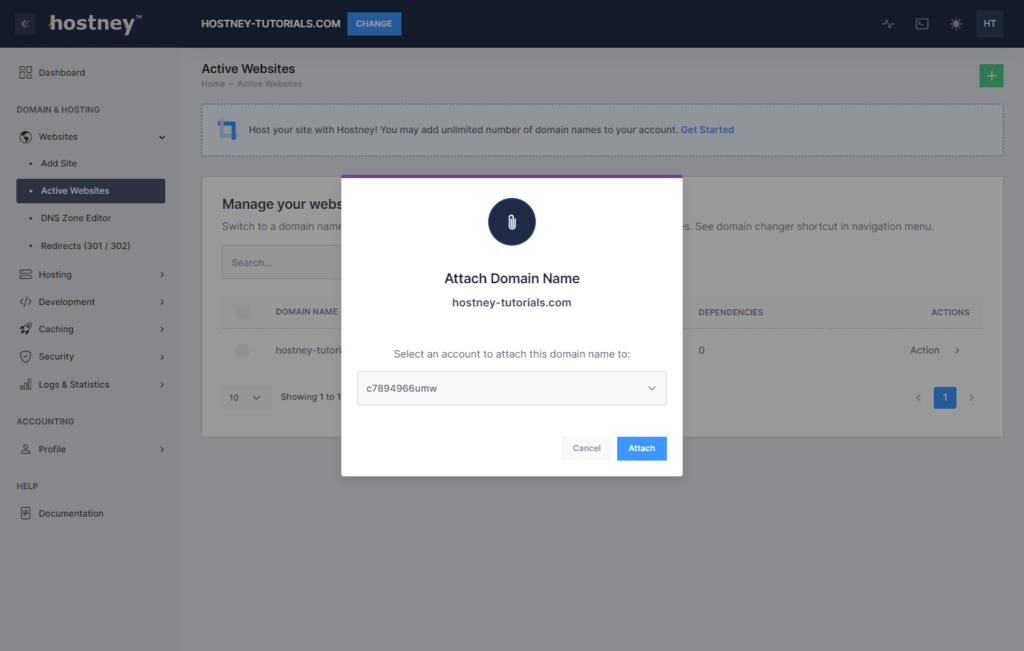
To set up your website for a specific domain name, it is crucial to link the domain name with your hosting plan. This step is essential in the configuration process as it enables the system to associate your domain name with specific settings, making the setup process seamless and as easy as a single click on your part.
In the list, locate your domain name and click on the option labeled "Set up." This action will trigger the appearance of a modal window where you can choose the hosting account name. Once you have made your selection, simply click on "Attach." And there you have it, you're all set!
Do not forget to set up your Virtual Host.

Multiple Hosting Accounts
Managing numerous domains and hosting accounts can be challenging, particularly when dealing with unfamiliar usernames. To simplify the process and improve account management for specific services, you have the flexibility to label these accounts.
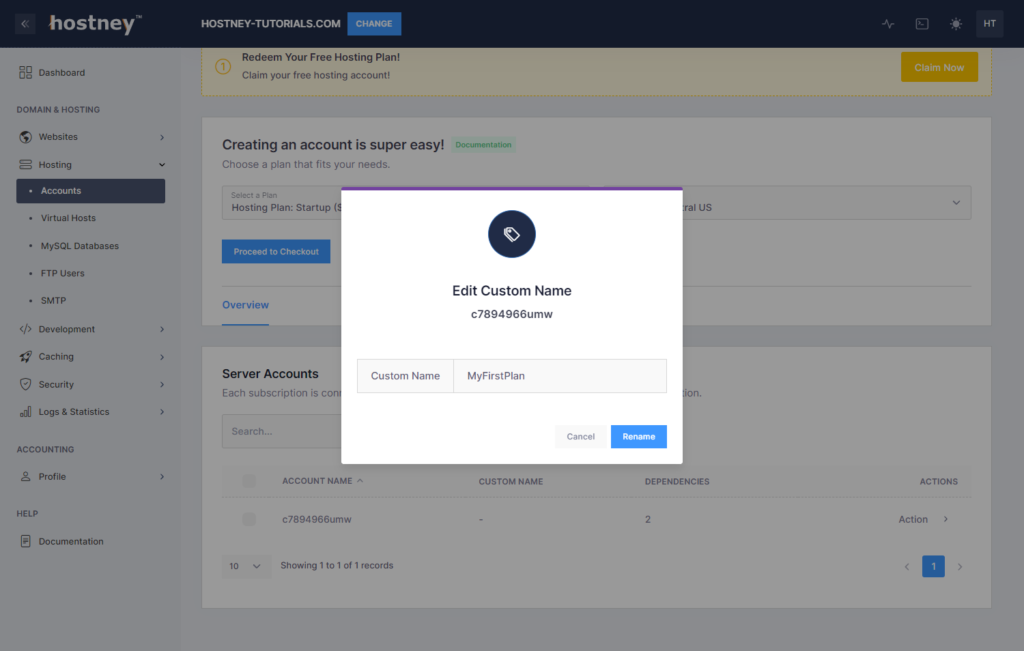
To accomplish this, access the "Hosting" section and navigate to the "Accounts" tab. From the list, find the desired account name and select the "Rename" option under the "Actions" column. This straightforward procedure enables you to alleviate the complexities associated with multiple accounts and facilitates streamlined management.

Please take into consideration that the label you choose must adhere to specific character limitations. It is crucial to note that the label may only consist of alphanumeric characters, specifically the letters A to Z (both lowercase and uppercase), the numbers 0 to 9 and hyphen.
After finalizing the desired name, simply click on the "Rename" button to save the changes.

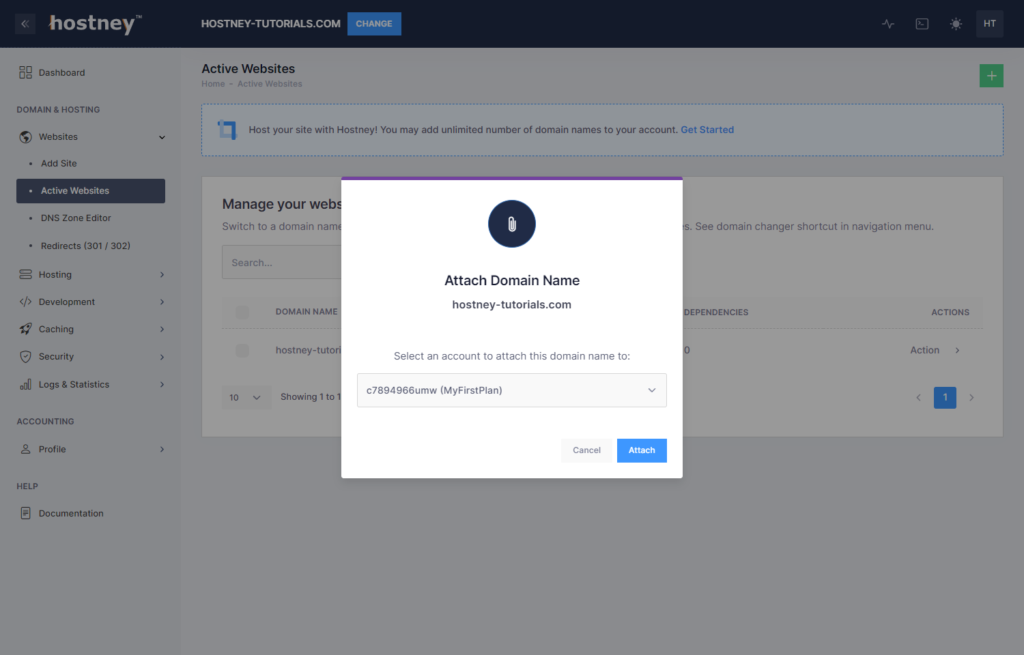
With the successful configuration of your label, it will now be displayed within the system whenever you access and manage account settings.