
Table of Contents
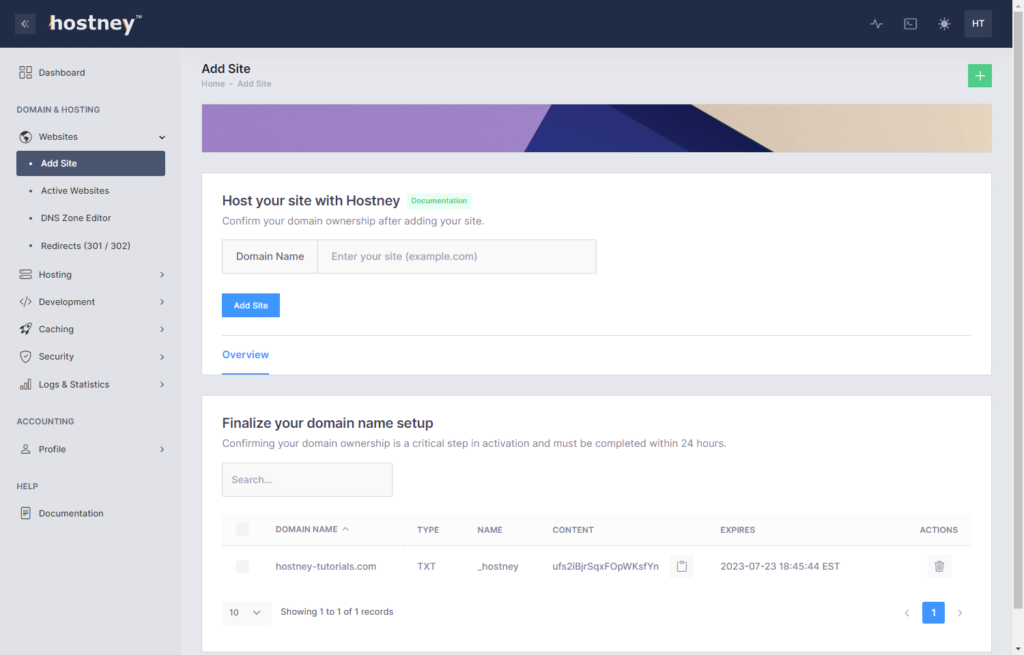
Navigate to the "Websites" section and click on "Add Site."
To complete the process of confirming domain ownership, follow the provided guidelines to include the designated TXT record in your domain's DNS configuration. This crucial step affirms your administrative control over the domain, allowing you to implement essential modifications.
To initiate this procedure, access the control panel of your domain name registrar or your current DNS provider. Navigate to the section designated for DNS settings and proceed to create a new TXT record.
In the "name" field, input _hostney.[yourdomain.com]. In the corresponding "content" field, input the value that has been supplied to you through your Hostney Control Panel. By setting up this configuration, you will establish the necessary parameters.
You may have five (5) domain names in the Add Site queue.
Internationalized Domain Names
When dealing with internationalized domain names, it is important to input the punycode form of your domain name. This ensures that the domain name is accurately translated into the correct unicode format, thereby preventing any inadvertent mistakes. For instance, an example of punycode would be xn--silng-zqa49e.hu, which translates to ősiláng.hu in unicode format.
After Verification
After successfully adding the TXT record, our system will verify the ownership of the domain and link it to your Hostney account. The domain name will then be transferred to the "Active Websites" section, indicating that it is now associated with your account. Once in the "Active Websites" section, you will have access to the active "DNS Zone Editor", allowing you to manage and configure the DNS settings for the domain.
You will receive an email notification when the domain name is verified.
Changing Nameservers (Optional)
To fully leverage the potential of our services, we highly recommend changing your domain's nameservers to Hostney's DNS servers. While this step is optional, it ensures a smoother experience and access to all our hosting features.
Before changing the nameservers, it is important to migrate any existing DNS records to avoid interruptions in your website's functionality.
Hostney Nameservers:
ns1.hostney.net [159.203.72.97 / 2604:a880:800:10::7dc:e001]
ns2.hostney.net [64.227.109.178 / 2604:a880:4:1d0::85:1000]
At your domain registrar's settings or DNS management panel, locate the option to edit the nameservers for your domain. Replace the existing nameservers with the ones provided in this document.
By updating the nameservers, you ensure that your domain resolves to the correct DNS infrastructure and seamlessly integrates with our hosting services.
Should you encounter any issues or require assistance, our support team is ready to help you along the way.